
Reading time: 4 min
Key takeaways
- Seasonal cleansing is not optional – moss and algae trap moisture, accelerating rot. A stiff brush and mild detergent do the job.
- Base treatment matters more than the topcoat – use a penetrating wood stabiliser before any stain or oil.
- Dry time is non-negotiable – two full days of sun-drying after washing ensures the treatment bonds properly.
Step 1: The clean that reveals the wood’s true condition
What most people get wrong is rushing straight to the stain. In my experience, 80% of terrace failures come from a surface that wasn’t properly cleaned. Start by clearing off all furniture, pots, and loose debris. Then sweep vigorously — yes, even the gaps between boards collect grit that will later act like sandpaper underfoot.
Mix a bucket of water with a pH-neutral wood cleaner (avoid bleach or bleach-based products — they break down the lignin). Apply it with a soft-bristle brush or a low-pressure sprayer. Let it sit for 15 minutes, then scrub along the grain. Rinse thoroughly — let the hose run until the water runs clear. The plant will tell you: if water beads up and refuses to soak in, you still have a film of dirt or old product.
Step 2: Address the damage before you seal anything
Don’t overthink it — walk the planks slowly and look for raised splinters, popped nails, or boards that have started to cup. In my grandmother’s garden, she always kept a few spare boards under the porch. It’s a Dutch habit I’ve kept. Replace any seriously damaged plank. For small splinters, a sanding block with 120-grit paper is enough — but sand only the problem spots, not the whole terrace. Over-sanding thins the wood and reduces its natural weather resistance.
If you notice a grey, fuzzy layer developing on the surface, that’s mould or mildew beginning its work. Scrub it again with a dedicated fungicide — and then rinse again. I know it feels repetitive, but this is what makes the difference between a terrace that lasts five years and one that lasts fifteen.
Step 3: The treatment that actually protects
This is where the Wageningen training kicks in. In research trials, cold-pressed linseed oil gave the best deep-penetration protection on softwoods like pine and spruce. For exotic hardwoods (ipé, cumaru, garapa), use a clear, UV-stable tung-oil blend. What most people get wrong here is applying a thick layer — that only leads to a sticky, dust-attracting mess. Thin coats, allowed to absorb fully, are the secret.
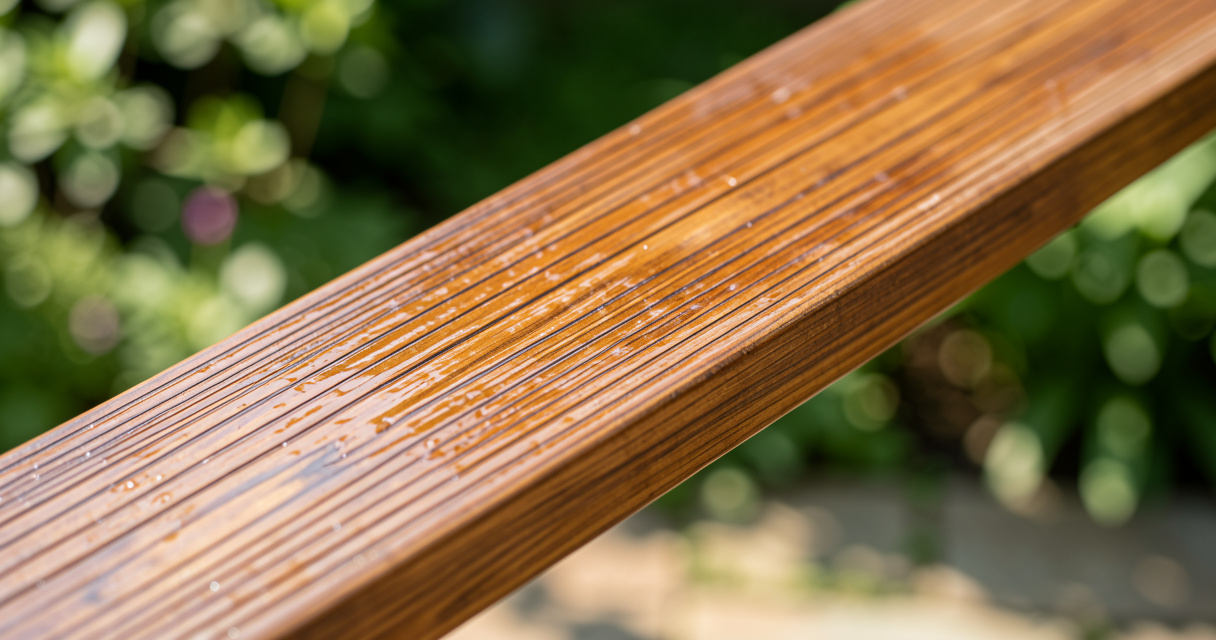
Here’s what I’d do: brush the oil or sealer onto one board at a time, working it into the grain with a soft cloth. Wipe off any excess after 5 minutes. Leave it to dry for at least 24 hours — longer if humidity is above 70%. Then apply a second coat exactly the same way. Between coats, the wood should feel dry to the touch but not “sticky.” That dry feeling means the top layer is ready for the next coat.
Step 4: The finishing touches that keep the wood happy through winter
When the second coat has cured (usually three to four days of dry weather), take a moment to inspect the entire surface. The finished wood should look rich but not glossy. If any board looks patchy or matte, spot-treat it with a third, light coat. Remember that even the best treatment won’t last forever — reapply annually in spring, before the heavy summer sun arrives.
Let me show you what actually works for long-term care: after the treatment, place furniture on protective pads (those felt disks you can buy at any hardware store). Reduce dirt accumulation by letting rain wash the deck naturally — don’t blow leaves or needles off with a leaf blower because that just grinds debris into the grain. And each autumn, give it a light rinse with fresh water from the hose. The plant — or rather the wood — will tell you when it’s thirsty for another coat.
Should you use a saturator, oil, or varnish?
I get asked this every workshop. The short answer: always prefer a saturator (a penetrating water-repellent) or a hybrid oil-saturator product over a film-forming varnish. Varnish looks beautiful for a year, then cracks and peels — and you’ll have to sand it all off before re-coating. A good saturator, on the other hand, allows the wood to breathe and can be refreshed with a light clean and reapplication without any sanding. Don’t overthink it: choose penetrating, not film-forming, for any outdoor wood you plan to maintain consistently.

I’ve spent over fifteen years in botanical gardens and nurseries across the Netherlands and Belgium. Now I garden in Haarlem and write what I wish someone had told me sooner. No fluff — just what actually works.