
Temps de lecture : 16 min
Key Takeaways
- Bright indirect light is non-negotiable – aim for 10,000–20,000 lux; direct sun scorches fronds.
- Water only when the top inch is dry – use the pick-up test; reduce frequency in winter and on overcast days.
- Humidity above 50% is essential – pebble trays, bathroom placement, or a humidifier work best; misting alone is not enough.
- Feed with 20-10-20 at 175-200 ppm N in summer and switch to 15-0-15 at 150-175 ppm in winter – flush with distilled water monthly.
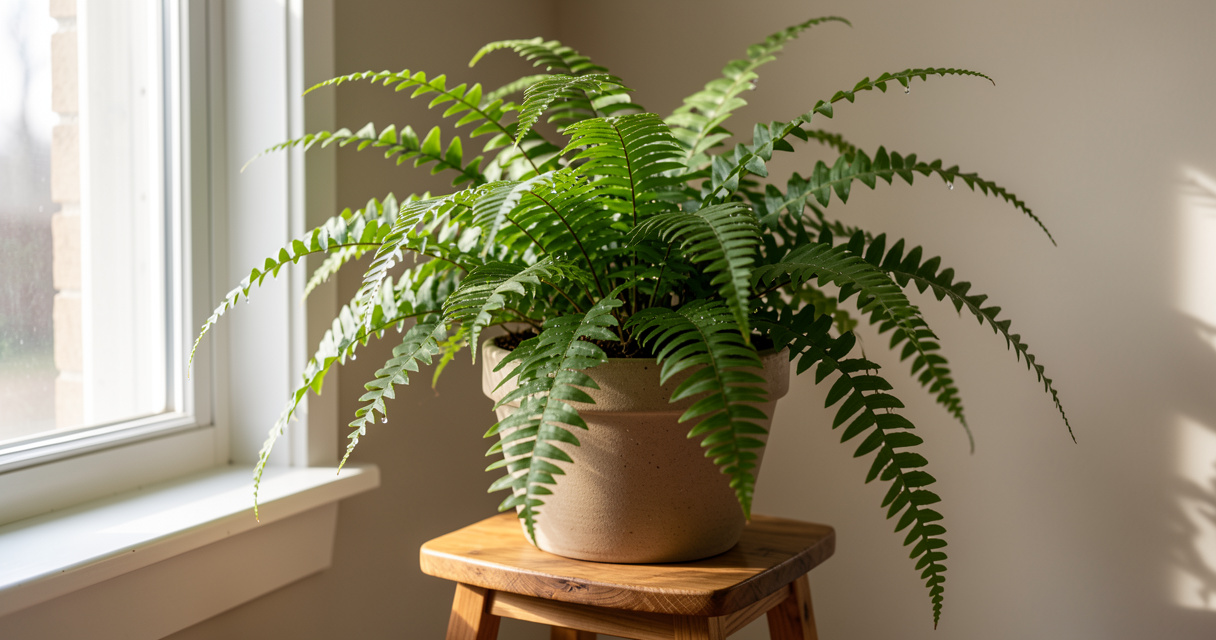
You brought home a lush Boston fern from the garden centre, carefully placed it on your coffee table, and within three weeks you were sweeping up a pile of brown, crispy fronds. I know the feeling because I’ve been there – and so have hundreds of frustrated plant parents on forums. The problem isn’t your green thumb; it’s that Boston fern care indoors requires a completely different rhythm than outdoor growing. Most guides skip the precise science behind why ferns fail. In this article, I’ll walk you through every variable – light, water, humidity, fertilizer – using data from greenhouse research and my own trials in a Haarlem apartment. By the end, you’ll have a clear, repeatable routine for growing a thick, healthy fern without the shedding.
Ideal Light Conditions for Boston Ferns
When people say “bright indirect light,” they rarely know what that means in numbers. In my experience, a lux meter (the free app on your phone works) will tell you the truth. Boston ferns (Nephrolepis exaltata) thrive at 10,000 to 20,000 lux – roughly the light you get two feet back from a bright east or north-facing window. Anything above 30,000 lux (direct afternoon sun) will scorch the fronds within hours.
Sunburn Warning – If you see yellow or bleached patches that turn papery brown, your fern is getting too much light. Move it immediately away from the window and remove damaged fronds. They won’t recover, but the plant will produce new ones in a few weeks. For west or south windows, use a sheer curtain to filter. Morning direct sun (before 10 a.m.) is usually safe, but afternoon direct sun is lethal.
Signs Your Fern Is Getting Too Little Light
In low light (below 5,000 lux), the fern becomes leggy, fronds stretch toward the window, and new growth appears pale and thin. Leaf drop accelerates. If you don’t have a bright window, supplement with a full-spectrum LED grow light for 12 hours a day. A cheap desk lamp with a 6500K bulb placed 12 inches above the plant works – I’ve used one for a shady corner in my office.
How to Prevent Sunburn from Too Much Light
Check your window orientation. An east window that gets morning sun and bright indirect light the rest of the day is ideal. If you only have a south window, place the fern at least 1.5 metres away or use a thin white curtain. Rotate the pot every two weeks so all sides receive even light. My grandmother always said, “The plant will tell you” – and she was right. Watch the colour: a happy fern is deep green, not washed out.
Good light is the foundation – once you get it right, watering becomes much easier.
Watering Your Boston Fern: The Goldilocks Method
The most common question I get is “how often should I water Boston fern?” The answer isn’t a number – it’s a feel. Here’s the exact method I use and recommend from years of nursery work.
Pick up the pot – if it feels light compared to its weight after watering, it’s time. If it still feels heavy, wait.
Water thoroughly – use room-temperature water and pour until it runs out of the drainage holes. Never let the pot sit in a saucer of water for more than 30 minutes.
Let the top inch dry out between waterings. Stick your finger in – if it feels dry to the first knuckle, water. If moist, wait another day.
Adjust for weather – on dark overcast winter days, skip watering even if the top inch feels dry. The plant transpires less. According to the NC State greenhouse guide, this prevents root rot from low evaporation.
For outdoor ferns in summer, water once or twice daily depending on heat. Indoors, once or twice a week is typical.
The Pick-Up Test: When to Water
I learned this trick from a grower in Boskoop: lift the pot. A dry fern pot feels surprisingly light – you’ll develop a feel after the first two tries. This is far more reliable than a calendar. In summer, my indoor fern dries out in 4–5 days; in winter, it can go 10 days without water.
Summer vs Winter Watering Schedule
In the active growing season (May–September), water when the top inch is dry – usually every 4–6 days indoors. In winter (November–February), allow the top two inches to dry out, which may mean every 7–10 days. The plant’s metabolism slows down. Overwatering in winter is the #1 cause of yellow fronds and fungal issues.
Once you’ve mastered watering, humidity is the next frontier – and it’s where most Boston ferns struggle indoors.
Humidity Hacks for Dry Indoor Air
Boston ferns are native to tropical and subtropical regions where humidity hovers around 60–80%. Our homes, especially in winter with heating, drop to 20–30% RH. That’s why fronds brown at the tips. According to the Soltech Plant Care Guide (2025), the ideal range is 50–60% RH. Here are four methods to boost it without breaking the bank.
| Method | Cost | Effectiveness | Maintenance |
|---|---|---|---|
| Pebble tray | Low ($5) | Medium – adds 5–10% RH locally | Refill water weekly; clean tray to prevent mosquitoes |
| Grouping plants | Free | Medium – creates microclimate 10–15% RH | Rearrange pots; need at least 3–4 plants together |
| Bathroom placement | Free | High – up to 20% RH during showers | Needs bright light (east window in bathroom) or supplement with grow light |
| Humidifier | Medium ($30–100) | High – maintains 50–60% RH across room | Fill daily; clean every week to avoid mineral dust |
The Pebble Tray Method
Fill a shallow tray with pebbles, add water until it reaches just below the top of the pebbles, and set the pot on top. As water evaporates, it creates a humid bubble around the fern. Don’t let the pot touch the water – that wicks moisture into the soil and can cause rot. It’s simple but effective. I keep my desk fern on a pebble tray year-round.
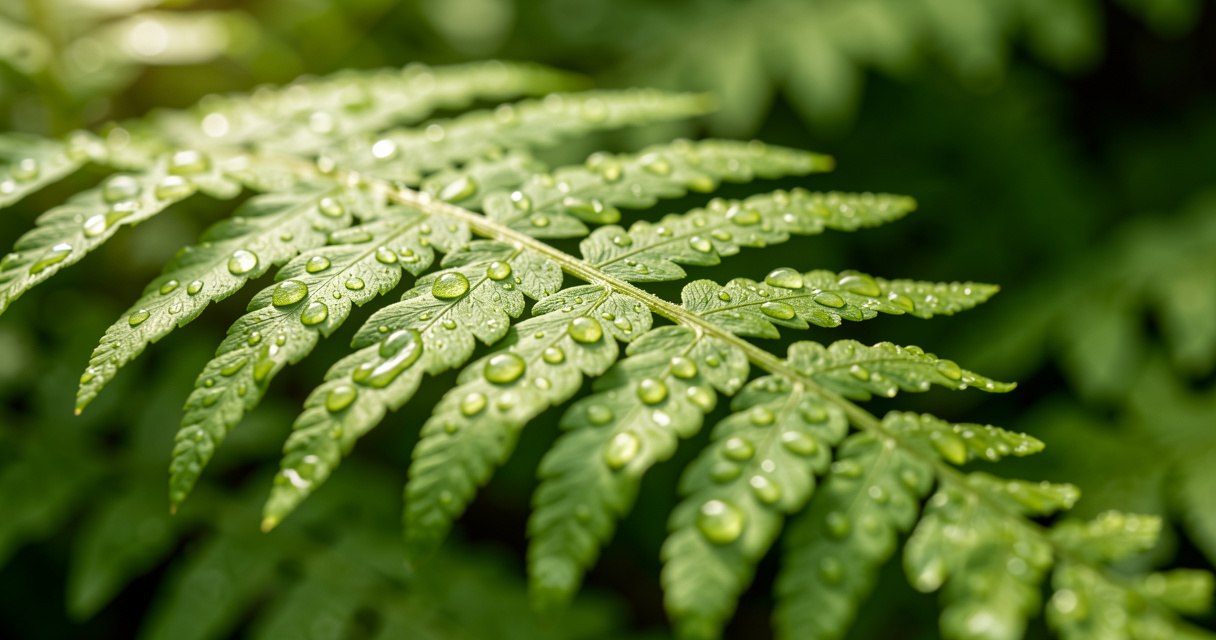
Misting: Helpful or Harmful?
What most people get wrong is relying on misting alone. A spritz raises humidity for maybe 10 minutes. Worse, if you mist heavily and the fronds stay wet for hours, you invite fungal spots and bacterial rot. I mist only on the hottest, driest days (above 25°C), and I do it in the morning so leaves dry by night. For consistent results, use a pebble tray or a humidifier.
With humidity sorted, you can stop the brown tips – now let’s fuel that new growth with the right fertiliser.
Fertilizing Schedule: Spring, Summer, Fall, Winter
Most consumer articles say “feed monthly during growing season” – but they don’t tell you which NPK ratio or how much. The NC State University Greenhouse Production of Boston Ferns (2024) gives us precise numbers. Here’s the data you won’t find elsewhere.
Key recommendation: During warm, bright periods (spring to late summer), use a 20-10-20 fertilizer at 175–200 ppm nitrogen. In cooler, darker conditions (fall and winter), switch to a 15-16-17 or 15-0-15 formula at 150–175 ppm nitrogen.
| Season | NPK Ratio | ppm Nitrogen | Frequency | Special Notes |
|---|---|---|---|---|
| Spring (Mar–May) | 20-10-20 | 175–200 | Every 2 weeks | Start when new fronds appear; water well before feeding |
| Summer (Jun–Aug) | 20-10-20 | 175–200 | Every 2 weeks | Increase to weekly if growth is vigorous; flush with distilled water monthly |
| Fall (Sep–Nov) | 15-16-17 or 15-0-15 | 150–175 | Every 4 weeks | Reduce as light decreases; stop by mid-November |
| Winter (Dec–Feb) | 15-0-15 | 150–175 | Every 8 weeks (or skip) | Only if fern is actively growing; otherwise skip feeding |
Recommended NPK Ratios by Season
Why the seasonal change? The 20-10-20 formula has higher nitrogen and potassium to support frond expansion during long, bright days. The 15-0-15 contains zero phosphorus – ferns don’t need much phosphorus for root growth, and excess can accumulate as salt. Gardening Know How (2025) recommends fertilizing at half strength every 4–6 weeks during the growing season. I follow the NC State schedule but dilute it to 75% strength to be safe.
How to Apply Liquid and Slow-Release Fertilizer
For liquid fertiliser, dilute in room-temperature water and apply as a regular watering – never on dry soil, as it can burn roots. Slow-release granules (like a 14-14-14) work well if you sprinkle them on the soil surface in spring and again in midsummer. But they don’t give you the seasonal flexibility. I prefer liquid because I can adjust strength based on the fern’s response. Important: Once a month, flush the pot with distilled water until it runs through freely – this leaches out salt build-up that causes brown tips.
Feeding done right gives you thicker, darker green fronds. Now let’s keep them tidy with proper pruning.
Pruning and Grooming for Fuller Growth
Pruning is often feared, but it’s the quickest way to rejuvenate a Boston fern. The Soltech guide recommends spring pruning, cutting back up to one-third of the older fronds. In my experience, a hard prune in early April triggers a flush of new growth that makes the fern look twice as full by June.
When to Prune: Spring is Best
The best time is just before the growing season kicks in – March or early April in the Northern Hemisphere. Remove any completely brown, dead fronds at the base with clean scissors. Also trim off any yellow or damaged leaves. Don’t cut more than one-third of the total fronds in one go; the plant needs enough leaves to photosynthesise and recover.
How Far Can You Cut Back a Boston Fern?
If your fern has become a scraggly mess, you can cut all fronds back to 2 inches above the soil. This feels drastic, but it works – the underground rhizomes will push new shoots within 3–4 weeks. The ScottsMiracle-Gro guide confirms this technique. I did it last spring to a fern that had dropped half its leaves after a cold draft; by July it was bushier than ever. After cutting, keep the soil barely moist and increase humidity to encourage rapid regrowth.
Pruning solves visual problems, but what about the mysterious browning, yellowing, or drooping? Let’s diagnose those.
Common Problems and Quick Fixes
Every Boston fern owner encounters at least one of these issues. The key is to identify the symptom correctly. Below is a symptom-diagnosis table based on my nursery work and the NC State PDF.
| Symptom | Cause | Solution | Cross-reference |
|---|---|---|---|
| Brown tips on fronds | Low humidity, inconsistent watering, or fertilizer salt build-up | Increase humidity (pebble tray/humidifier); flush soil with distilled water; trim brown tips | Humidity Hacks, Fertilizing |
| Yellow fronds (bottom older leaves) | Overwatering or poor drainage | Let soil dry out; check pot for drainage; repot if root rot present | Watering |
| Drooping fronds (all over) | Underwatering or prolonged drought | Water thoroughly; soak pot in sink for 15 minutes; increase watering frequency | Watering |
| Pale colour / gray cast | Nutrient deficiency (mainly nitrogen) or salt stress | Reduce fertilizer strength; flush with distilled water; apply half-strength 20-10-20 | Fertilizing |
| Leaf drop (many fronds at once) | Sudden change in environment (temperature, light, draft) | Stabilise conditions – keep away from AC/heater vents; maintain 60–75°F | Light, Outdoor vs Indoor |
Brown Tips and Crispy Edges
This is the #1 complaint. Brown tips almost always point to low humidity or salt accumulation. First, try the pebble tray. If that doesn’t help within two weeks, flush the soil with distilled water – pour three times the pot volume through the soil to wash out excess salts. Trim the brown tips with clean scissors, cutting at an angle to mimic the natural frond shape. New fronds will come in green if you fix the underlying cause.
Yellow Fronds and Leaf Drop
If the lower, older fronds turn yellow while the crown looks fine, you’re probably watering too often. Let the soil dry out more between waterings. If the entire fern looks pale and many leaves drop, check for drafts or temperature swings. Boston ferns hate being near a heating vent or a cold window at night. Move it to a more stable spot.
Gray Cast and Slow Growth
A grayish, dull cast on fronds – different from natural silver tones – indicates salt stress. This happens when fertiliser residues accumulate and block water uptake. Flush with distilled water and switch to a lower-strength feed for a month. Also check that you’re not using softened water, which contains high sodium. Rainwater or distilled is best.
Troubleshooting is half the battle. Next, let’s look at how to adapt your care when moving the fern between indoors and outdoors.
Outdoor vs Indoor Care: Key Differences
Boston ferns are sold as both indoor and outdoor plants, but the care routines are radically different. Indoors, you’re in control of everything; outdoors, you’re at the mercy of the elements.
Summer Outdoor Care Tips
If you place your fern on a shaded porch or under a tree in summer, it will explode in growth – but it will also need water daily, sometimes twice a day. Outdoor ferns dry out fast because of wind and heat. Check the pot every evening. Also, outdoor light is much stronger even in shade – don’t put it in direct afternoon sun. A few hours of morning sun is fine, but anything more will scorch.
Personal anecdote: Last July, I left my fern on the porch in full afternoon sun for just two hours while I ran errands. The fronds were scorched within 48 hours – yellow patches that turned crisp. I cut everything back to 2 inches, moved it to full shade, and babied it with daily misting. It took four weeks to show new green shoots. Lesson learned: morning sun only, never afternoon.
Overwintering Your Outdoor Fern Indoors
Don’t throw your fern away in autumn – you can overwinter it. Before the first frost (night temperatures below 10°C), bring it inside. Inspect carefully for pests (spider mites love to hitchhike). Place it in a bright room with reduced watering. It will look a bit sad – that’s normal. Cut back dead fronds in early spring and resume normal care. The ideal year-round temperature range is 60–75°F (Soltech, 2025). Avoid placing it near drafty windows or heat registers.
To make all this advice easy to follow month by month, here’s a printable seasonal calendar.
Seasonal Care Calendar (Quick Reference)
| Month | Light | Water | Fertilizer | Other |
|---|---|---|---|---|
| January | Keep in brightest spot; supplement if needed | Every 7–10 days; skip on overcast days | Skip or every 8 weeks (15-0-15) | Check humidity; use pebble tray |
| February | Same | Same | Same | Start watching for new growth |
| March | Normal bright indirect | Every 5–7 days as growth starts | Begin 20-10-20 at half strength | Prune dead fronds; repot if rootbound |
| April | Can move closer to window | Every 4–6 days | Full strength 20-10-20 every 2 weeks | Check for new rhizomes; divide if needed |
| May | Same | Every 4–6 days | Continue 20-10-20 | Move outdoors (shade) after last frost |
| June | Outdoors in shade | Daily or every other day | Every 2 weeks | Increase watering if hot; watch for pests |
| July | Shade only; no direct sun | Daily to twice daily if >30°C | Every 2 weeks; flush monthly | Mist on dry days; rotate pot weekly |
| August | Same | Same | Every 2 weeks | Prepare to bring indoors late August |
| September | Indoors: east window | Every 5–7 days | Reduce to every 4 weeks (15-16-17) | Inspect for pests from outdoors |
| October | Same | Every 7–10 days | Every 4 weeks | Stop fertilising mid-month |
| November | Brightest indoor spot | Every 7–10 days; check dryness | Skip or every 8 weeks | Increase humidity as heating dries air |
| December | Same; consider grow light | Every 10 days; avoid overcast days | Skip | Keep away from cold drafts; minimal disturbance |
With this calendar, you’ll never wonder what to do next. Before we wrap up, let’s answer the most frequently asked questions.
Frequently Asked Questions
Can a Boston fern survive in low light?
Not ideal. They need bright indirect light for at least a few hours. In low light they survive but become leggy and drop fronds. Artificial light can supplement.
Do Boston ferns need direct sunlight?
No direct sun – it scorches the fronds. Morning sun (east window) is okay for short periods, but afternoon sun is harmful. Use sheer curtains if necessary.
Why are my Boston fern leaves turning brown?
Brown tips usually indicate low humidity, inconsistent watering, or fertilizer salts. Flush soil with distilled water, increase humidity, and trim affected fronds.
How often should I water my Boston fern in winter?
Less frequent – allow the top inch to dry out completely. On dark overcast days skip watering. Usually once every 7-10 days indoors, depending on home conditions.
How to revive a dying Boston fern?
Cut back all dead fronds to 2 inches, place in bright indirect light, increase humidity, water thoroughly, and feed with half-strength fertilizer. New growth should appear in 3-4 weeks.
Is misting good for Boston ferns?
Misting provides temporary humidity but can encourage fungal issues if done excessively. Better to use a pebble tray or humidifier for consistent moisture.
What type of potting mix is best for Boston ferns?
A well-draining, peat-based mix with perlite. Many commercial potting mixes work fine. Avoid heavy garden soil. Adding coconut coir helps retain moisture without waterlogging.
Now let’s tie everything together.
Mastering Boston Fern Maintenance – Your Next Steps
By now you have a complete roadmap. Let’s recap the essentials: provide bright indirect light (no direct sun), water only when the top inch is dry (use the pick-up test), maintain humidity above 50% with a pebble tray or humidifier, feed a diluted 20-10-20 in summer and 15-0-15 in winter, and prune back in spring for fullness.
Print out the seasonal calendar and stick it on your fridge – your fern will thank you next summer. Don’t overthink it. The plant will tell you what it needs if you pay attention. A little patience and observation go a long way. You’ve got this.
Happy growing – Nynke Brandsma, Haarlem 2026

I’ve spent over fifteen years in botanical gardens and nurseries across the Netherlands and Belgium. Now I garden in Haarlem and write what I wish someone had told me sooner. No fluff — just what actually works.